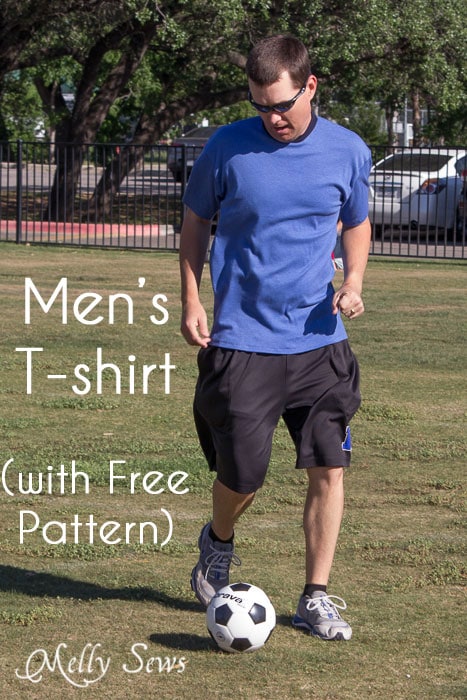
Hey y’all! Today I have another free pattern for men. I’m sharing a men’s t-shirt pattern.
I know I’ve mentioned before that my husband is a football coach – which means that he tends to hang out more in t-shirts than anything else, even at work. It’s one of the perks of the job – which in the midst of football season I have to make a point to remember. As in, “Even though we only get to see Dad for 5 minutes on Friday nights, at least I don’t have to dry clean suits.”

$2.00
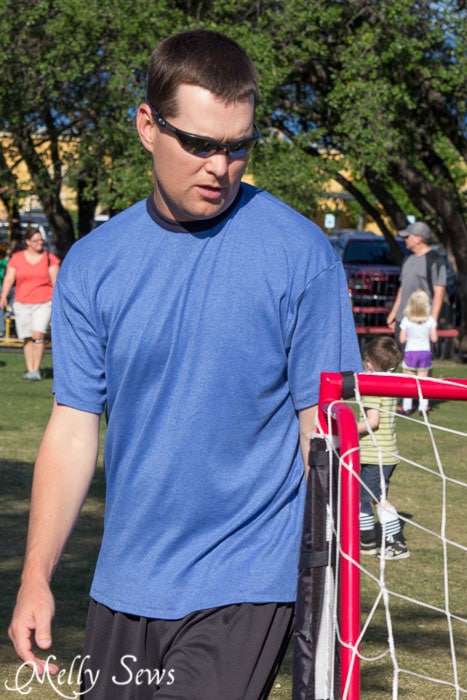
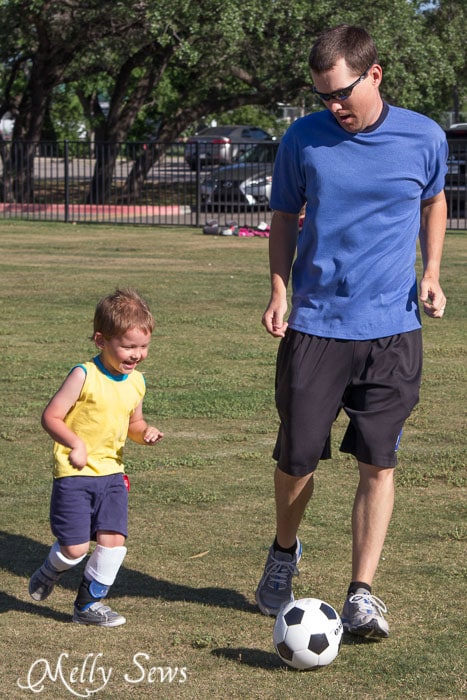
And even when he's not coaching at his job, he seems to end up coaching with our kids - like at soccer practice with Bean. Though most of the time I'd just as soon buy him a t-shirt, once in a while it's nice to sew one too. So I did, and now I'm sharing.
To make your own, you'll need:
- About 1 yard of 60" wide knit fabric for the shirt and 1/8 yard of rib knit for the neckband
- A sewing machine that will do a zig-zag stitch. Note: You DON'T need a serger to do this. I sewed t-shirts for years using my 1950s Singer 503 and a zig-zag stitch. Now that I have a serger I prefer it, but again, you don't have to have one.
- The pattern:
The pattern is in a men's size Medium, which fits chest sizes up to about 38" with some ease, and up to 40-41" for men who like fitted t-shirts. If you need to make the pattern bigger or smaller, check out this post. To get it, click your preferred option below to get the free pattern only as a newsletter subscriber, or to buy the digital pattern + printable instructions for $2.
 |  |  |
Please note that all my free patterns are licensed for personal use only (no selling items made from this unless you purchase it) and by downloading you are agreeing to this license.
The shirt pattern has one piece for the front, back and V neckline variations. Cut your front and back pieces out with the appropriate neckline variation for the t-shirt you want to sew. Below I have instructions for a regular crew neckline, for instructions on a V neckline see this post.
To make a basic t-shirt, start with a front, back, two sleeves and a neckband.
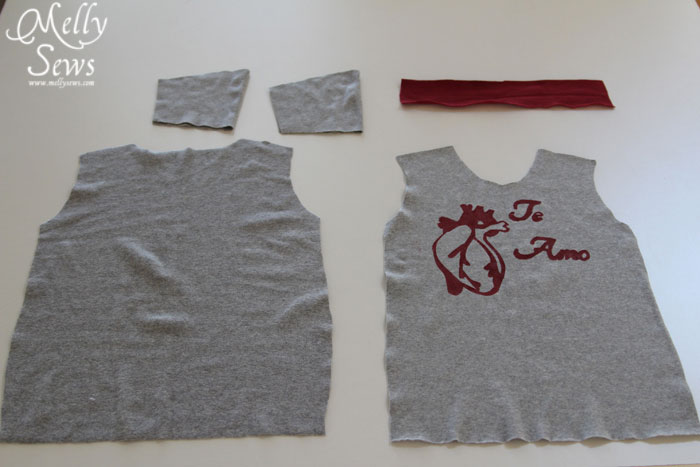
Place the front and the back right sides together and sew one shoulder.
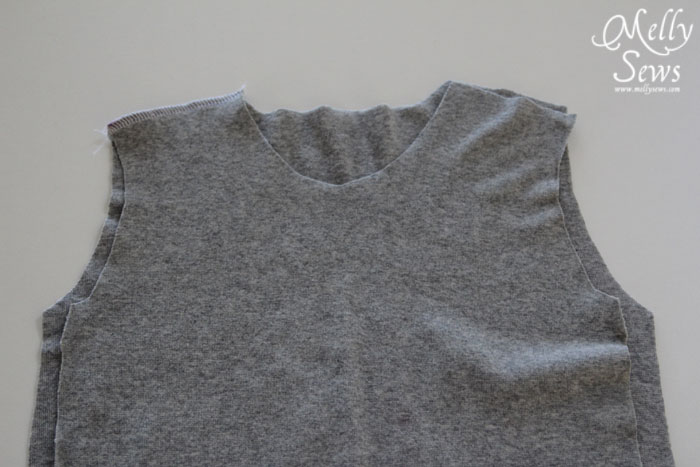
Open up the shirt and pin the neckband in, stretching it from shoulder to shoulder. Be careful not to stretch the t-shirt, just the neckband. Stitch it in.
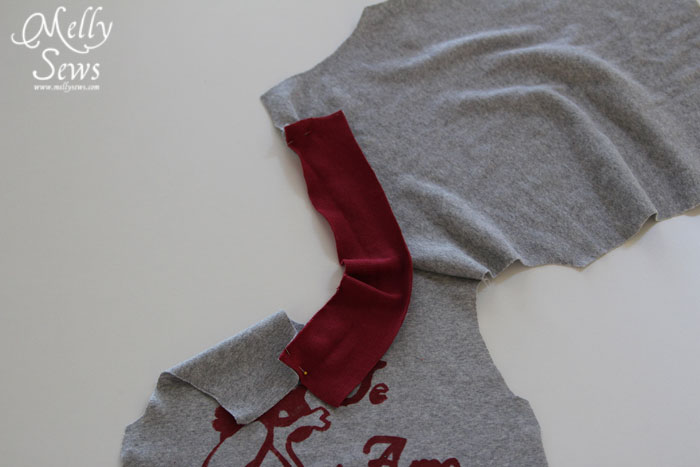
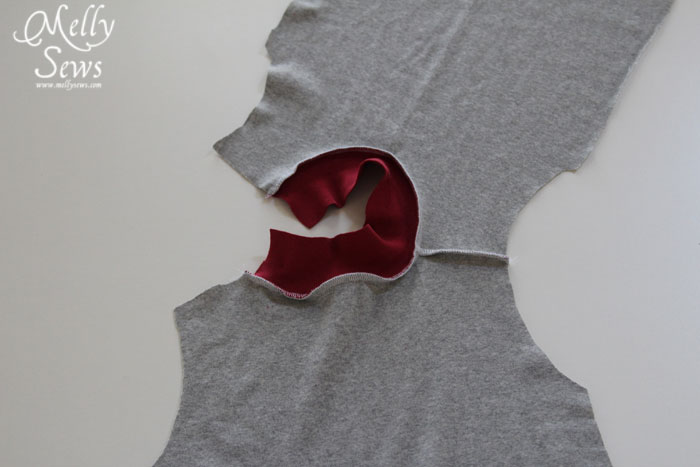
Sew the other shoulder and neckband together in one seam, making sure to match the neckline seam and to press the neckline seam allowance up.
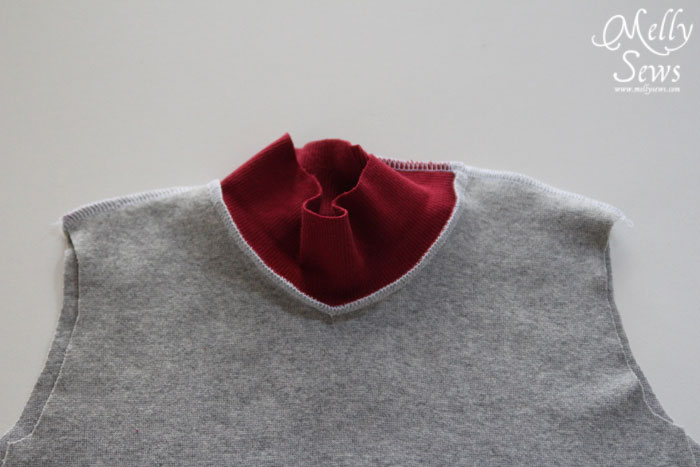
Pin in the sleeves by placing them right sides together on the shirt. Line up the top center of the sleeve with the shoulder seam, then pin the ends of the sleeve to the end of the armhole, then ease the rest of the sleeve into place. Stitch.
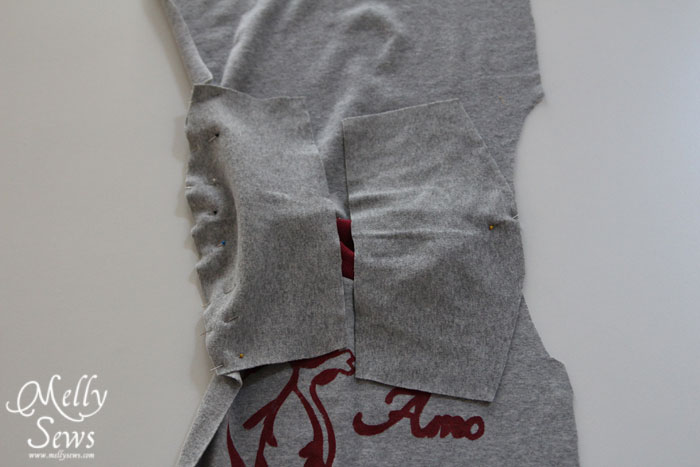
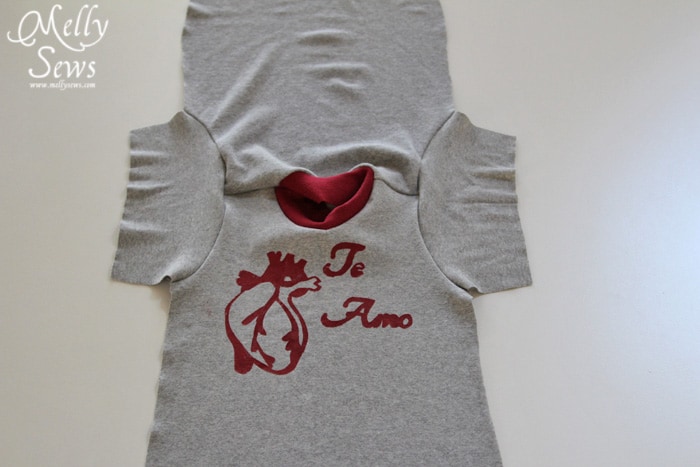
Fold the shirt right sides together and sew the underarm seam and the side seam in one (red line).

Fold the neckband to the inside of the shirt, covering the neckband seam, and pin. Use a zig-zag stitch on the right side of the neckline to stitch in place.
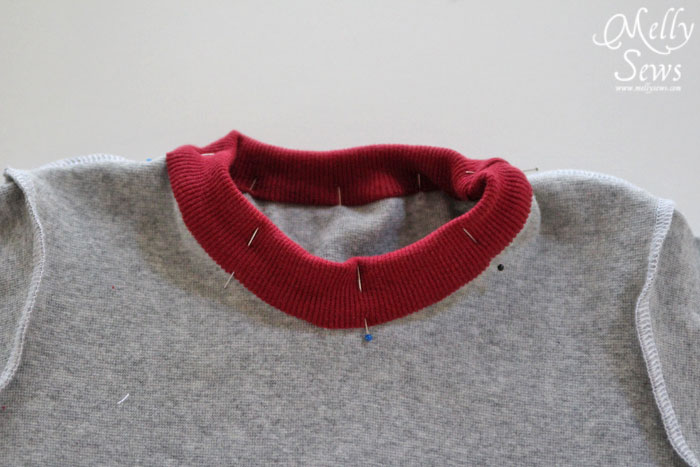
If desired, hem the sleeve edges and bottom edge - though you don't have to - knits don't ravel. I prefer to hem with a twin needle; you can find more about that here.
If you want to make a shirt for your little man, I have a free one in this post for children sizes 2-4.

Happy sewing,
Related


Original article and pictures take mellysews.com site
Комментариев нет:
Отправить комментарий